Every home eventually requires a new coat of paint. Whether to reset the aesthetics, cover stains, or simply refresh your rooms, painting is a chore that comes to every homeowner eventually. Legacy Painting is here to guide you through the process of interior painting, from how to choose the correct type of paint for various areas to techniques for achieving the results you want. If you are ready to dive into your next painting project, then read on and we will dig into what you need to know to accomplish your painting goals.
Choosing the Right Type of Paint for Different Surfaces
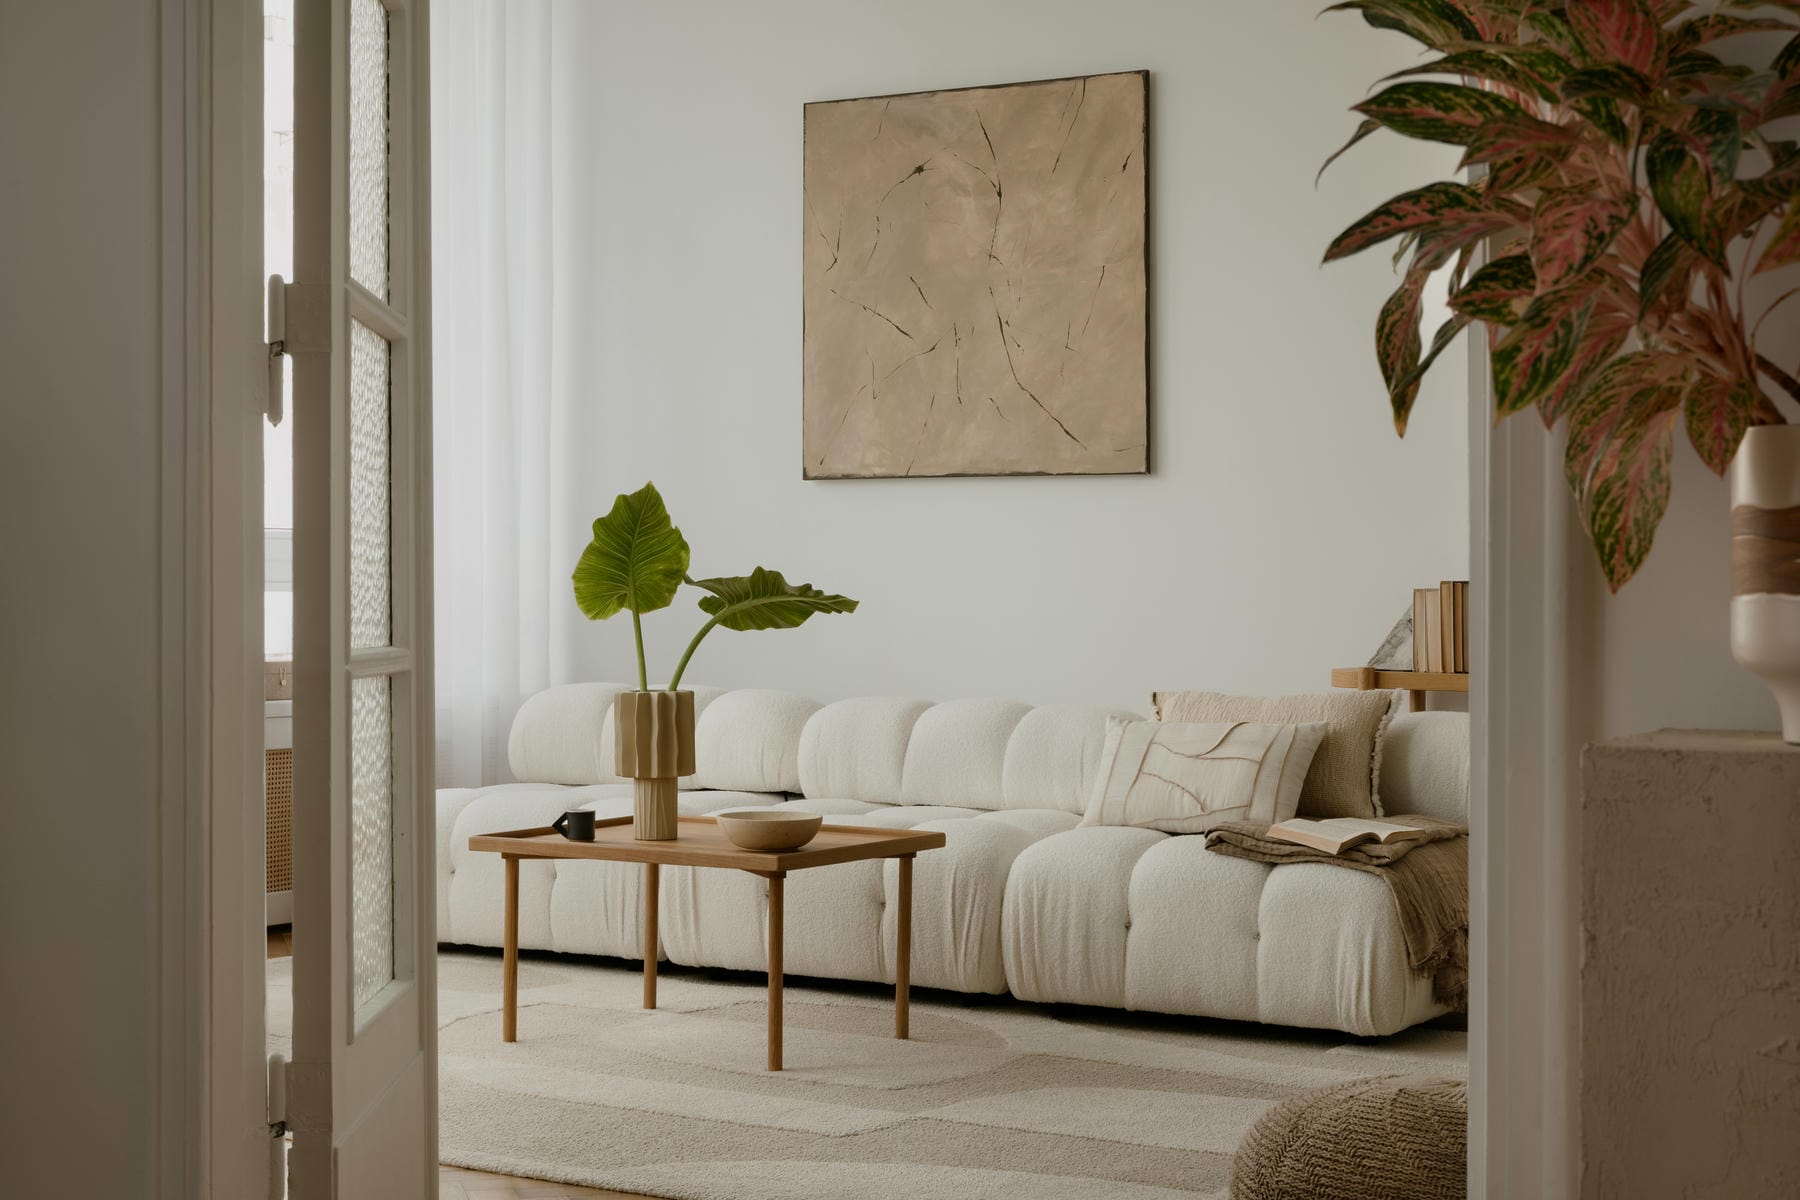
Walls and Ceilings
The most commonly used paint for interior walls is water-based acrylic-latex. It offers a balance of ease of use, quick drying time, and a minimal odor, making it ideal for general living spaces. When it comes to ceilings, opt for a flat or matte finish, as it effectively hides imperfections and provides a uniform look.
Woodwork and Trim
Traditionally, oil-based paints have been the go-to for woodwork and trim, thanks to their durability and smooth finish. However, advancements in paint technology have made water-based acrylic enamels a great alternative. They offer similar durability, are less odorous, and dry faster than their oil-based counterparts.
Kitchens and Bathrooms
In areas that are prone to moisture and grease, such as kitchens and bathrooms, it’s advisable to use semi-gloss or high-gloss paint. These finishes are not only more resistant to moisture but are also easier to clean, making them ideal for high-traffic areas.
Steps of Interior Painting
Preparation
The key to a successful painting project lies in thorough preparation. Begin by removing or covering furniture and fixtures. Clean the walls to remove dust, dirt, and grease. Next, fill in any holes or cracks, and sand down any uneven surfaces. Lastly, apply painter’s tape along edges and trim to ensure clean lines.
Priming
Applying a primer is essential, particularly when painting over darker colors or surfaces that have never been painted. Primer provides a smooth, even base for your paint, ensuring better adhesion and a more vibrant color for the topcoat.
Painting
Start with the ceiling, then move on to the walls, and finishes with the trim. For larger surfaces, use rollers, and for smaller areas and edges, use brushes. Apply at least two coats of paint for even coverage, allowing each coat to dry completely before applying the next.
Benefits of an Interior Painting Project
Aesthetic Enhancement
Fresh paint can completely transform the look and feel of a room. It can make spaces appear brighter, larger, or more inviting, depending on the colors and finishes chosen.
Increased Property Value
A well-executed interior painting job can significantly increase the value of your property. It not only makes your home more attractive to potential buyers or renters but also gives the impression of a well-maintained property. A well-executed interior painting job can significantly increase the value of your property. It not only makes your home more attractive to potential buyers or renters but also gives the impression of a well-maintained property. A well-executed interior painting job can significantly increase the value of your property. It not only makes your home more attractive to potential buyers or renters but also gives the impression of a well-maintained property.
Protection
Paint serves as a protective layer for your walls, safeguarding them against wear, tear, and environmental factors like moisture and sunlight.
How to Use a Paint Sprayer on Interior Walls
Choosing a Sprayer
For larger projects, an airless paint sprayer is a viable choice. These sprayers are efficient and can manage thicker paints without the need for thinning.
Selecting the Right Paint
Not all paints are suitable for spraying. Thinner paints work best in sprayers. If your chosen paint is too thick, you may need to thin it according to the manufacturer’s instructions. Always assess the paint on a piece of cardboard to ensure it’s the right consistency for spraying.
Preparation
Ensure that the room is prepared by covering floors and furniture. Mask off areas that you do not wish to paint. Before starting on the walls, practice using the sprayer on a piece of cardboard to get used to its operation and the spray pattern.
Technique
Hold the sprayer nozzle 10-12 inches away from the wall. Start from the top of the wall and work your way down. Begin each stroke before the spray hits the wall and end it after the spray leaves the wall. This technique helps avoid buildup of paint at the starts and stops. Overlap your strokes by about 50% to ensure even coverage without gaps.
Managing Overspray
Overspray can be a challenge with paint sprayers. It is the excess paint that goes beyond the intended surface. To manage this, adjust the pressure settings on your sprayer to the lowest effective level and use a spray guard.
Cleaning
After use, clean the sprayer thoroughly. Proper cleaning prevents clogs in the nozzle and extends the life of the equipment.
Color Selection and Design
Choosing the right color is as important as the painting process itself. Consider the mood you want to create in each room. Light colors can make a room feel larger and more airy, while darker colors can add depth and warmth. Evaluate your colors by painting small sections of the wall and observing how they look under different lighting conditions throughout the day.
Safety and Ventilation
Use protective gear such as masks, gloves, and goggles, employing a respirator when sanding or using a sprayer. Ensure good ventilation to minimize inhalation of fumes. Open windows and use fans to circulate air.
Professional Assistance
While many people undertake painting as a DIY project, there is no substitute for professional expertise. Hiring a professional painter can save time and ensure a high-quality finish, particularly for complex projects or when using advanced techniques. Your friends at Legacy Painting can help make your painting project a simple success by doing the demanding work for you and giving you the results, you need. As Washington’s leading interior house painters, we have the expertise to manage any size project. We use only the highest-quality paint and back our work with a three-year warranty. Contact us today to get started with your free quote.

